Showing posts with label video. Show all posts

Friday, February 8, 2013

Teaching Left-Handed When You're Not

Teaching left-handed when you're not is a great reminder of how students often feel -- awkward, uncertain, maybe anxious, or a little embarrassed. Between the e-course I'm teaching and the e-course I'm taking, this week I've felt all that.

With years of practice, I've learned to give reasonably fluid demonstrations of left-handed looping techniques, even though that hand is not naturally adept at the fine motor skills of manipulating a needle. And from years of teaching workshops in person, I know most of my left-handed students are adept at translating righty into lefty. So once the basics are established, most offers to show variations left-handed are met with, "No, thanks, I think I've got it."


Not this time. In my new cross-knit looping eCourse, I could tell from students' comments and questions that I needed to add a left-handed cross-knit edging video. Sighs of relief echoed across the interwebs when I said I would add one next week. They waited patiently. I shot it. I reshot it. And reshot it again. And finally, after two weeks, it went up on the course site.

Ginger Rogers made dancing with Fred Astaire look effortless, and she did it backwards and in high heels. In my own little fantasy world, I work to create a Ginger-esque sense of seamless fluidity in the content I produce for my eCourses. Sometimes, when I stumble (and I do) I save that footage for a gag reel at the end of a course.

Out of frame outtake 1
 Not this time. I've emptied a digital trash bin full of left-handed looping video. Such poor modeling could only confuse students further.

Back of my hand video -- not instructive.
Because I was so awkward, I kept moving the piece out of the camera's frame and closer to my bifocals. I hit the lens with my needle at least once.

Out of frame outtake2
In the end, here's what I had to do:
  • Practice. Unbelievably, I started shooting the first version without first warming up on a left-handed edging practice piece. Believably, it was painful to watch the playback of that footage. I deleted that stuff right away, then practiced before shooting Version 2.
  • Choose Easier Materials. I generally use different colors for right- and left-handed demonstrations to help me keep things straight in my head. Because I felt some time pressure on this video, initially I went with materials that were close at hand and "close enough." That was a waste of time. In left-handed demos, my most awkward moments (and this is saying something) are threading a needle and piercing anything with a needle (in this case, felt). Eventually, I got different felt. And I allowed myself to bury the tail (that piercing thing), with my right hand.
  • Alter The Progression. The most confusing part of this edging technique is the base row. It took me seven tries to record an acceptable left-handed base row. But I didn't begin with it in the edited video. Instead, I began in the middle, where my hand movements are smoother. With an audio dub, I explained: 
My left-handed demonstration skills are not as fluid as would like, so I'm going to start by showing how the stitching looks once you get going on an edging. Then we'll go back to how to begin and end.
In some ways, I think I'd like to alter the progression of the Massive Open Online Course I'm taking, too. And as an academic exercise, I can understand why the course is structured the way it is. But for much of the first two weeks I've felt like a lab rat in someone's Massive Open Online Research Project. It's not that I lack the wit or the will to operate in a self-directed learning environment. Frankly, I've done just that for years while cobbling together bits and pieces of references on a relatively obscure specialty. For me, that kind of learning generally produces excitement, anticipation, the thrill of discovery -- not the awkward, uncertain, anxiety I've felt in the #EDCMOOC.

In other words, I've felt like a right-handed stitcher demonstrating left-handed.

If I could alter the progression of the course, I would take some of the energy put into the first week's live chat session (recorded here), and put it into producing video introductions to aspects of the material by individual members of the instructional team. Yes, some students might hate the "sage on a stage" model. And they could ignore those course elements. As for me, I would appreciate some talking heads. Their absence feels too much like the reluctance of lab assistants to interact or influence their subjects.

In a class of 40,000 students, I don't really expect my comments or questions to result in an addition to the curriculum while the course is under way. But I do suspect the instructional team is feeling their share of anxiety about how this is going.

Unless they're too busy writing up lab notes about my behavior :-)

Monday, December 31, 2012

New Year's Resolution

Resolution #1: I've let my regular practice of creativity exercises lapse. The result feels like mental bloating similar to the physical effects of my culinary indulgences over the holidays. The treats are mostly gone and won't be replaced. I'm putting creativity exercises at the top of the to-do list for much of January. I'll post some of mine here, and hope you'll share your ideas as well.


Resolution Number 2:


Your comments on my last post helped me decide: We all have a stake in saying how we want to connect and learn online. So yes, I'll post some of my work in the upcoming class on e-learning and digital cultures here in 2013. And I look forward to your comments on those posts, too.

What are your resolutions?

Saturday, November 24, 2012

The Video Studio

After a short break to celebrate Thanksgiving with family, I'm back to work on a new eCourse on cross-knit looping, which I'll tell you more about soon. In the meantime, here's a peek at my new video "studio."


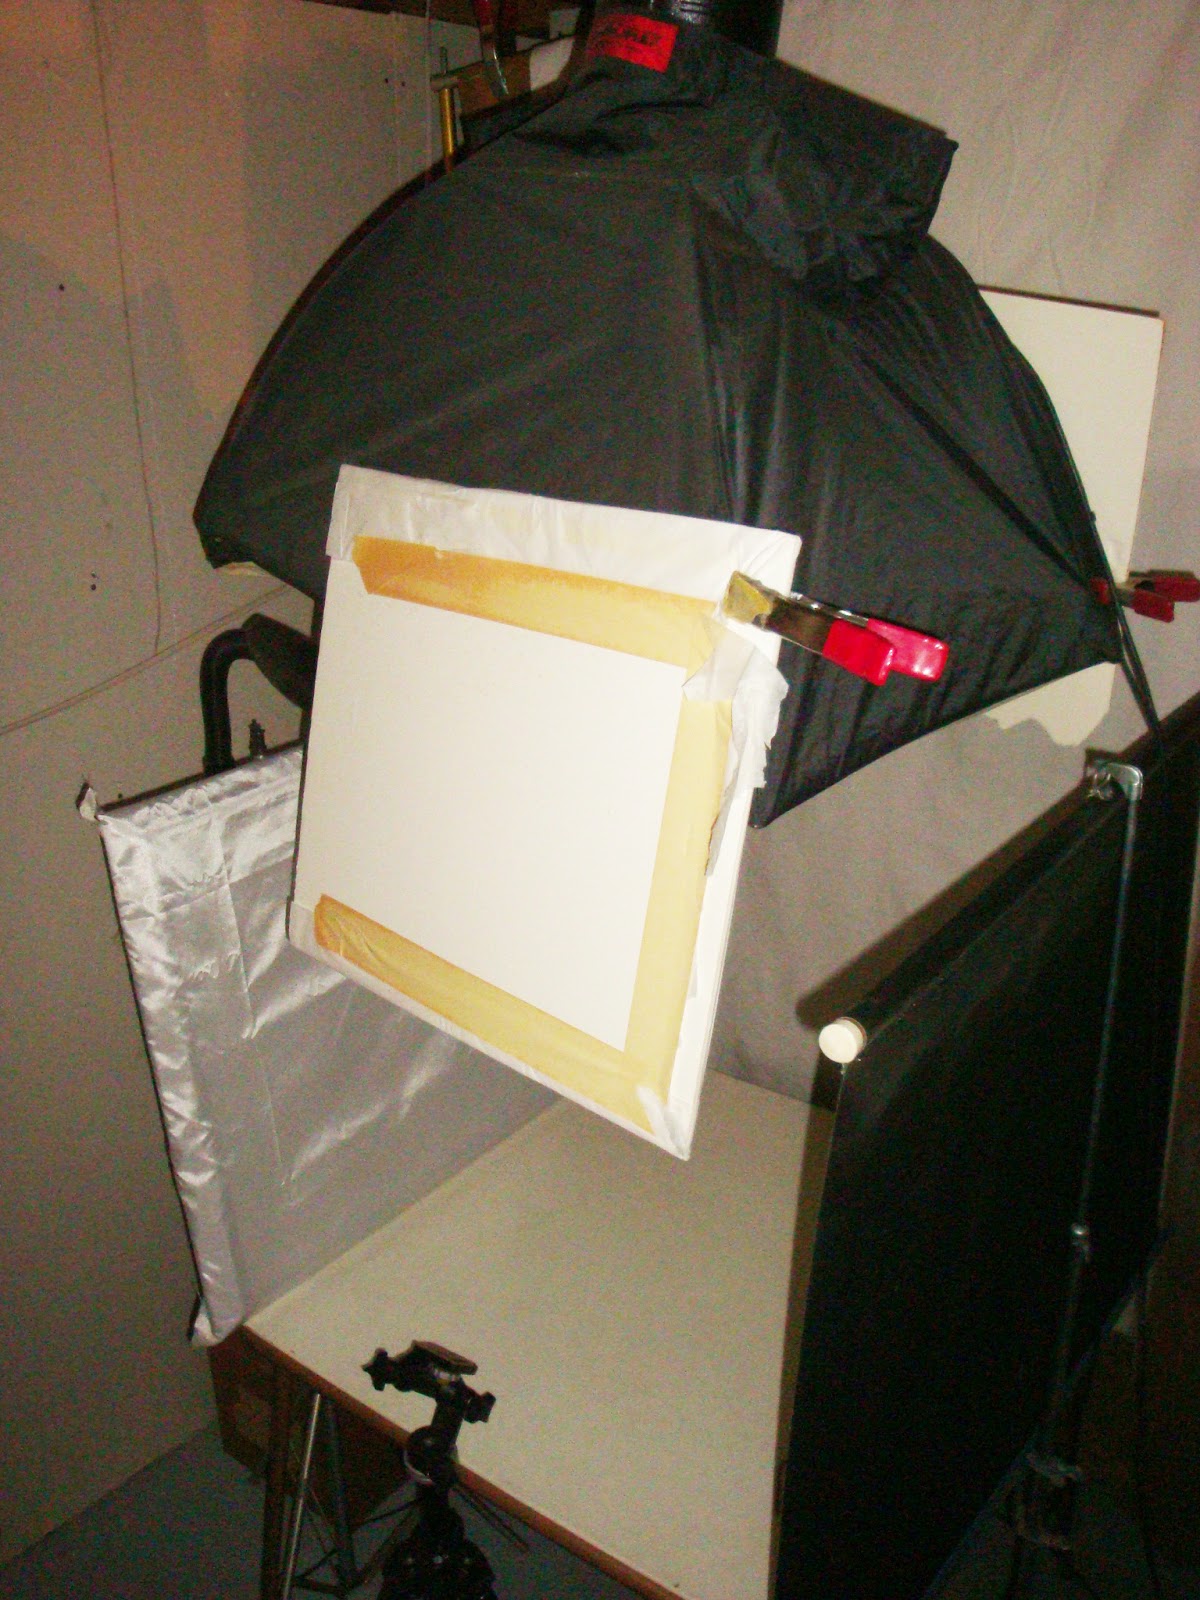
The homemade diffuser on the left is fabric stretched on an old picture frame. On the right is an old slide projector screen I found at the thrift shop. The white top on the card table (a family heirloom from the 70's) is easier for shooting than the fabric-covered table I used before. You can't really see the fabric backdrop or the two bounce lights. But here's the key element:


That black tent-like thing at the top covers a modeling lamp that gives diffused light from overhead. A friend who's a professional photographer helped me set up a photo studio back in the late 1990's, when I was still shooting my work on 35mm slides. I think we traded her a canoe for equipment, help setting it up, and lessons on how to shoot with it. Once I went digital, the flash didn't sync with my camera. It didn't occur to me until recently (duh) that I could use the modeling lamp without the flash.

The new set-up is tucked into a small space in our basement between the utility room and the cold room where we store squash and homemade wine. There isn't quite enough space to shoot the short "talking head" segments of the course, but it's working great for the close-up shots of my hands demonstrating techniques.

Speaking of hands, I stained my right hand with black walnut dye when my glove sprung a leak while I was doing "just a quick project." So no more dyeing until the last of the video is shot and edited!

Saturday, June 2, 2012

DIY Waxed Linen

The students in the spring session of my New Age Looping Basics eCourse have been very interested in learning to paint and wax their own threads.


Last month, I posted a short video I made for them on how to paint commercially produced waxed linen. Here's another short video I made for them showing how I wax my hand-dyed linen thread, and how to wind the waxed thread into a center-pull ball.


As this session of the eCourse draws to a close, students are getting the last of their projects posted and sharing lots of great tips, ideas and inspirations. I'll be sorry to see the class end, and hope they'll continue to share on the New Age Looping Study Group on Facebook.

A new session of the eCourse is scheduled for September 11 - November 1. Registration is open now. I wonder what special interests the next group will have?


Thursday, May 17, 2012

Painted Thread

Students in my looping workshops and eCourse are always curious about how I produce the multicolor waxed linen thread I often provide. It's a simple process I learned years ago in a workshop with Lissa Hunter. While preparing for this weekend's Burundi Looping class for Flambeau Area Fiber Arts, I shot a short video.


My apologies for the abrupt end. The phone rang. The dog barked. You didn't miss a thing.

When I post these barely edited videos, I feel compelled to do what, in my family, is called an "aw, honey." That's because my dad, an amazing woodworker, always says (while you're opening a gift wrapped in newspaper and duct tape), "Aw, honey, it's not perfect because of this and this and this...."

Let's just say I work really hard on the videos that are part of my online workshops. This one, on the other hand, got done while leftovers were heating for lunch. Hope you like it anyway!

P.S. I posted a while back on another way of painting thread using Dye-na-Flow fabric paint on non-waxed linen.

Friday, March 23, 2012

Sorting The Willow Harvest

Some of the floor in my studio is visible again as I whittle away at the piles of cut willow. All that fresh willow makes my studio smell heavenly!


Monday, March 19, 2012

Willow Harvest

Unseasonably warm temperatures have added a sense of urgency to the spring willow harvest. More needs to be cut, but I'm relieved to have my prime beds finished. Today I felt like I had time to set up the camera and tripod in the willow bed while I cut. Even if it was only pretend, it was nice to have company!


All that willow is piled up in the cool of my studio for now until I can start sorting and bundling. But that's another day, and maybe another video.

Thursday, March 8, 2012

A Digital Fabric Video And Pffft At Perfectionism

The work I've been doing lately isn't very photogenic, and I'm not sure how to make "timestamping" videos sound worthy of a gasp and pleas of "do tell!" But I'm chipping away at details (soon to be posted here) and plan to offer the New Age Looping Basics eCourse again in April. Thank you to the pilot group who tested the course in January!


Another pilot group, a smaller one, helped me out last fall by reviewing this video I made while I was just learning to use some of the editing tools I've spent so much time with lately. Now when I look at this video I think, "Oh, I could do so much better." But I'm posting it as is and hope you'll join me in celebrating the process of learning and the joy of seeing improvement.

There's no admission charge at this "screening," but I'd love it if you'd hit the Comments button below and share something you're proud of learning!

Saturday, January 28, 2012

Willow Hearts...And More Hearts

With Valentine's Day just around the corner, I thought I'd show you how I make the willow hearts I've been including with orders from my Etsy shop. If you're new to this blog, click on the post to expand the window so you can see the video player.


While I'm at it, here's a link to a post from last year's Who Hearts Looping tutorial


I heart you all. Thanks for reading!

Thursday, September 29, 2011

What Helps You Learn?

Would you help me with an experiment? I'm looking for feedback on some digital teaching tools. I've tried to make it worth your while with a free video and two screencasts on digital fabric design. But since I changed to Blogger's Dynamic Views, you'll have to click on the header for this post to see the whole story and the links.

Here's the backstory. Twenty-five years of training and experience in adult education have convinced me: Students benefit from having an idea of what the "big picture" looks like. Then, when you break down a technique or design concept into do-able parts, they have a better idea how the parts fit into the whole.


So I've been sampling different teaching tools and delivery methods for helping students glimpse the big picture and setting the stage for learning before a workshop or e-course.

To begin, I produced an 8-minute video that follows the transformation of a digital photograph into the seamless repeat pattern pictured at the top of this post. One short video won't make anyone an expert on Gimp, an open-source software alternative to Photoshop that you can download for free. But the video shows exactly what I did to turn a snapshot of a sumac leaf into a design I could print on Spoonflower, a print-on-demand fabric company that can turn your ideas into yardage.

The screencasts show how that design can be altered after it's on Spoonflower. The first uses the Picnik imaging utility, which can be accessed directly from Spoonflower. The second shows the Color Change utility within Spoonflower.

I'd like to get your impression of the content, and your help with testing the technology on a wide variety of platforms -- for example, Windows vs. Mac, operating systems of different generations (XP to Windows 7, for example), desktop vs. iPad vs. smart phone, that type of stuff. I need to know if you experience any delays in the buffering or problems playing the video or screencasts, the type of internet connection you were using when you viewed them, and sound quality you experience on different players.

In other words, I need feedback that tells me several things that I think you really need to be kept private.

So here's my plan. I've password-protected the video. If you'd like to view it, use this link to email me with your email address. I promise I will not fill up your inbox with spam. What I will do is add your email to the "approved" list for viewing the video, and send you the password. You're under no obligation of any kind, but you will have my email so you can answer my nosy questions as privately as one can, I suppose, in the digital age.

The two five-minute screencasts that follow up on the video's content are here:
Fall Color Fabric With Picnik
and
Fall Fabric with Spoonflower Color Changer
You're free to download or share those. In fact, I'm happy to share the password-protected video to any friend of yours who contacts me by email. But I would appreciate it if you not publish my email address in any form readable by the bots that troll the web looking for vulnerable email accounts. You can print my email as donnastitches [at] gmail [dot] com and advise your friends to remove the bot inhibitors, if that helps.

I really appreciate all the help I can get in this digital sampling session. And as always, thank you for your comments and feedback here on Two Red Threads, on Facebook and wherever else we connect!

Monday, July 4, 2011

Willow Bark Harvest

Last week while my head was still spinning from the Midwest Weavers Conference, Bill reminded me that I needed to harvest willow bark. Willow is easy to peel when the time is right, and my window of opportunity was closing.


In June 2012, I'm teaching at a brand new willow conference in Decorah, Iowa organized by my friends Jo Campbell-Amsler and Lee Zieke Lee. I have material aplenty on hand for Quixote Coiling, but needed a good supply of willow bark for this class:

Willow Spirit Constructed Vessels
For thousands of years, basketmakers have made vessels by folding, cutting and stitching sheets of bark. In this 2-day class, we replace that bark with a fabric laminate made of contemporary art cloth colored and patterned with willow. You'll learn a variety of ways to use willow to dye and print fabric. You'll sample new ways to conceive, model and build hand-stitched sculptural forms, and create two vessels that incorporate willow in the surface design.
So on Wednesday, Bill helped me peel for a little over an hour. The bark slipped off the wood like a pat of butter off a hot ear of sweet corn.


I spent the rest of the afternoon getting the peeled bark ready for drying and, later, storage and easy resoaking.


It's been drying under the eaves on the porch. Today I'll move it into my studio to finish drying.

I'll post details about the Decorah willow conference soon. In the meantime, here's a short video I took of Bill while we were harvesting.


You'll see that he uses the wood in his rustic furniture, and I save the leaves for dyeing. Willow is an amazing renewable resource.

Saturday, March 19, 2011

Breathing & Movement Warm-Ups Video

Last spring, I posted instructions on my other blog for one of the movements I got a ballroom full of people to do before my keynote address at the Missouri Art Education Association conference.


This week, I wanted to offer an expanded resource to those who attend my Creativity PhD lecture in Moorhead, Minnesota. So I've posted a short video on breathing and movement warm-ups on my You Tube Channel.

I almost didn't post it because it's so rough. But I'm trying to practice what I preach: Strive for fluency, but don't wait for perfection.